


There are plenty of cool features on Zwift to add to your online cycling experience and make it a lot more challenging and fun. I will take you through some of the key features I personally use and additional keyboard shortcuts to easily access some of Zwift’s functions and features in one click.
IN GAME MENU AND SETTINGS
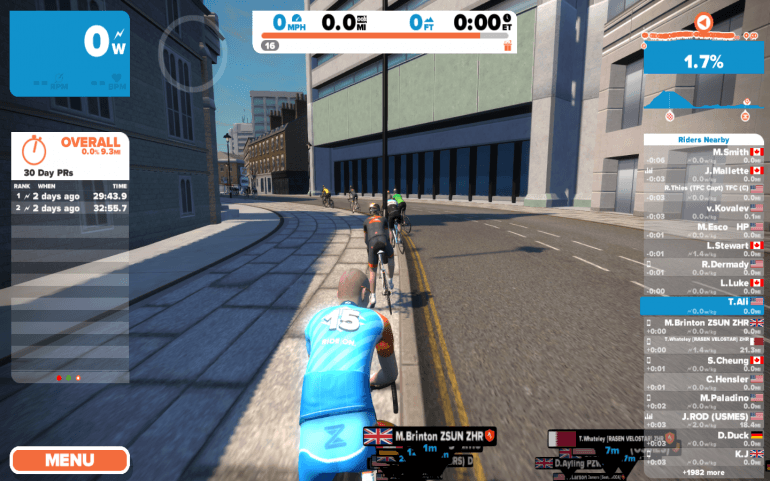
You can access the Menu screen by clicking on the Menu button from the ride screen. If you don’t see the Menu button, just click anywhere on the screen and the Menu button will appear in the lower left corner.
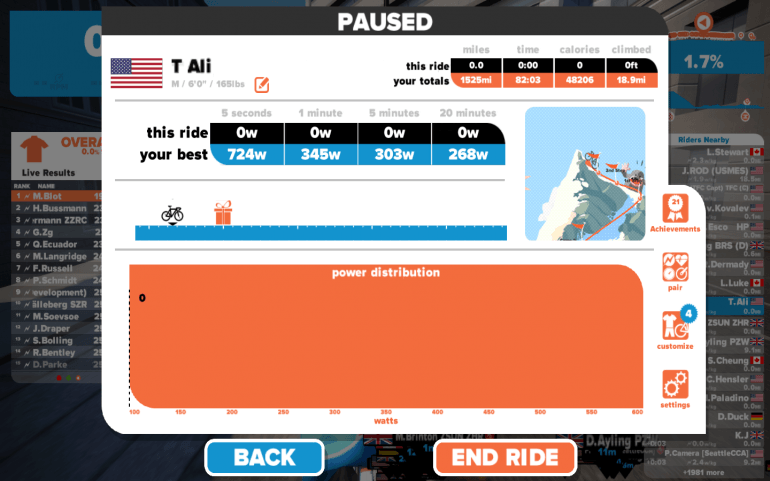
From the Menu screen, you can access:
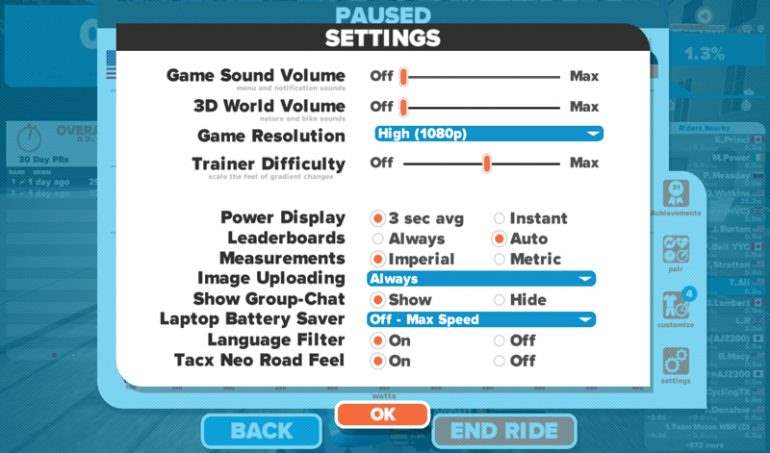
- Settings: Allows you to change game volume, game resolution, switch measurement from metrics to imperial, adjust trainer difficulty, along with other functions to adjust your gaming experience.
- Customize: menu to change your kit, bike, wheels and other options.
- Pair menu: allows you to pair your trainer, power meter, heart rate monitor, and cadence sensor.
- Achievements: Allows your to view all your current achievements.
TRAINER DIFFICULTY
You can access the trainer difficulty from the Game Settings menu described above. By default, it is set at 50% which mean your trainer will adjust to 50% of the slope. So if you see a climbing grade of 10%, then the trainer will only simulate 50% of that which is 5%. If you want to experience the real hills of Watopia, change that to 100% and happy climbing. Check your trainer for maximum incline simulation.
ZWIFT COMPANION APP
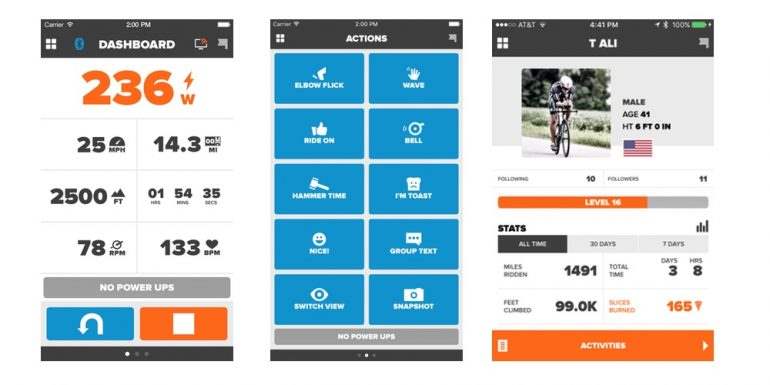
The Zwift Companion App is a game controller app that you can download from the Apple App Store or Google Play for Android. The app is basically a game controller that you can use to enhance your Zwift experience. The app will connect to Zwift running on other devices as long as they are connected to the same WiFi network.
With the Zwift Compaion app, you can control your ride, take a screenshot, search for riders, update settings, send messages, or browse and join events.
ZWIFT KEYBOARD SHORTCUTS
- 1: Default view
- 2-9: Change view
- 0: Change to a panoramic view
- A: Pairing screen
- M: Send a group message
- P: Unlock a new kit
- T: Change gear and setup during the ride
- Spacebar: Use Power Up
- Down Arrow: Do a u-turn
- F1: Elbow flick
- F2: Waves
- F3: Ride On!
- F4 to F9: Give various sounds
- F10: Screen Capture/Photo
WORKOUT CONTROL KEYS
- E: Select Workout Screen
- Tab: Skip interval block
- Page Up/Down: adjust workout % intensity (aka “FTP bias”) during a workout. On a Mac, hold down the fn key and arrow up or down.
- + or – : Increase/decrease smart trainer resistance when ERG mode is off in workout mode.
- G: Switch HR/Power Zone graph on/off
- ESC: End ride
Here is a printable sheet for all Zwift Keyboard Shortcuts for your reference.
If you don’t have a keyboard conveniently placed by your bike trainer, take a look at remoteMouse app, a little handy app that I personally use. It will basically convert your phone or tablet into a wireless keyboard.
OTHER ZWIFT TIPS
- Unlock new kit: During the game, hit the P key and enter the jersey code to unlock your new kit. Here is a list of all currently available Zwift kits codes on the Zwift Blog.
- Fan mode: click on rider names to watch a specific rider. Camera mode is controlled by Zwift and can’t take it over by using the 1-9 keys.
- To Join a Rider: find the rider in the start screen list in the Zwift Mobile Link app. Click on the rider name and Zwift will take you directly to that rider.
- Zwiftlizer: If you are wondering if your computer is optimized for Zwift, check out Zwiftlizer. Just import your last log file into Zwiftlizer and you will see where your computer is ranked. You can find the log file in your Document folder under Zwift > Activites.
Do you know of any other tips? Please let us know in the comment section.