

PROS
- Quick & easy to setup
- Quick to respond to changes in terrain
- A wide range of app compatibility
- Free and locked mode
CONS
- Only compatible with Wahoo Trainers
- Slight vibration when raising and lowering the front fork
- Bulky charger
- No place to store axle end caps
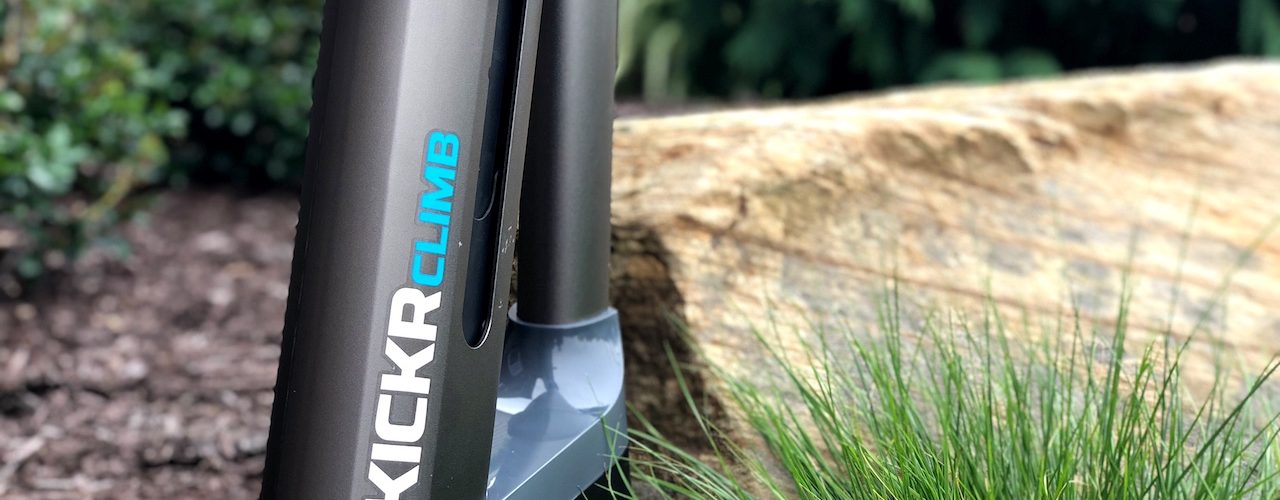
After Wahoo announced the KICKR CLIMB last year, I had a chance to try it out at Interbike for about 5 minutes. The unit was obviously not ready for prime time and Wahoo was hoping to have it ready and shipping towards the end of last year. Fast forward about 12 months, running into some production and design issues, Wahoo is finally shipping the CLIMB.
I have a final production unit that I purchased and have been using for a little over a month. I ran it through almost every scenario that I can think of while training for USAT Age-Group Nationals next month in Cleveland, Ohio.
TRAINER COMPATIBILITY
If you are interested in the Climb, which I assume you are since you are reading this, you need to have:
- Wahoo KICKR 2017 or later
- Wahoo KICKR Core,
- Wahoo SNAP 2017.
When using the KICKR CLIMB, bikes rotate around the rear wheel hub. The rear dropout attachment points on the new 2017 KICKR and KICKR SNAP models were specifically designed to accommodate this rotation, previous Wahoo trainers do not have the freedom of motion necessary to rotate as needed. Using the KICKR CLIMB with older trainer models may cause permanent damage to your bike or trainer.
Also, the CLIMB needs to connect to the trainer itself, not the software. Zwift, for example, doesn’t pair or communicate with the KICKR CLIMB. The CLIMB connects to the KICKR and the KICKR sends the slope data it receives from Zwift to the CLIMB. That’s one reason it simply won’t work with other brands.
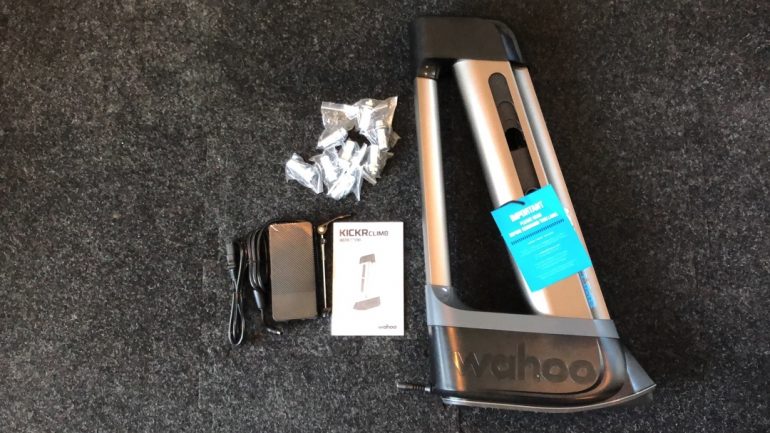
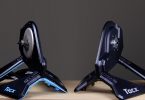
UNBOXING AND SETUP
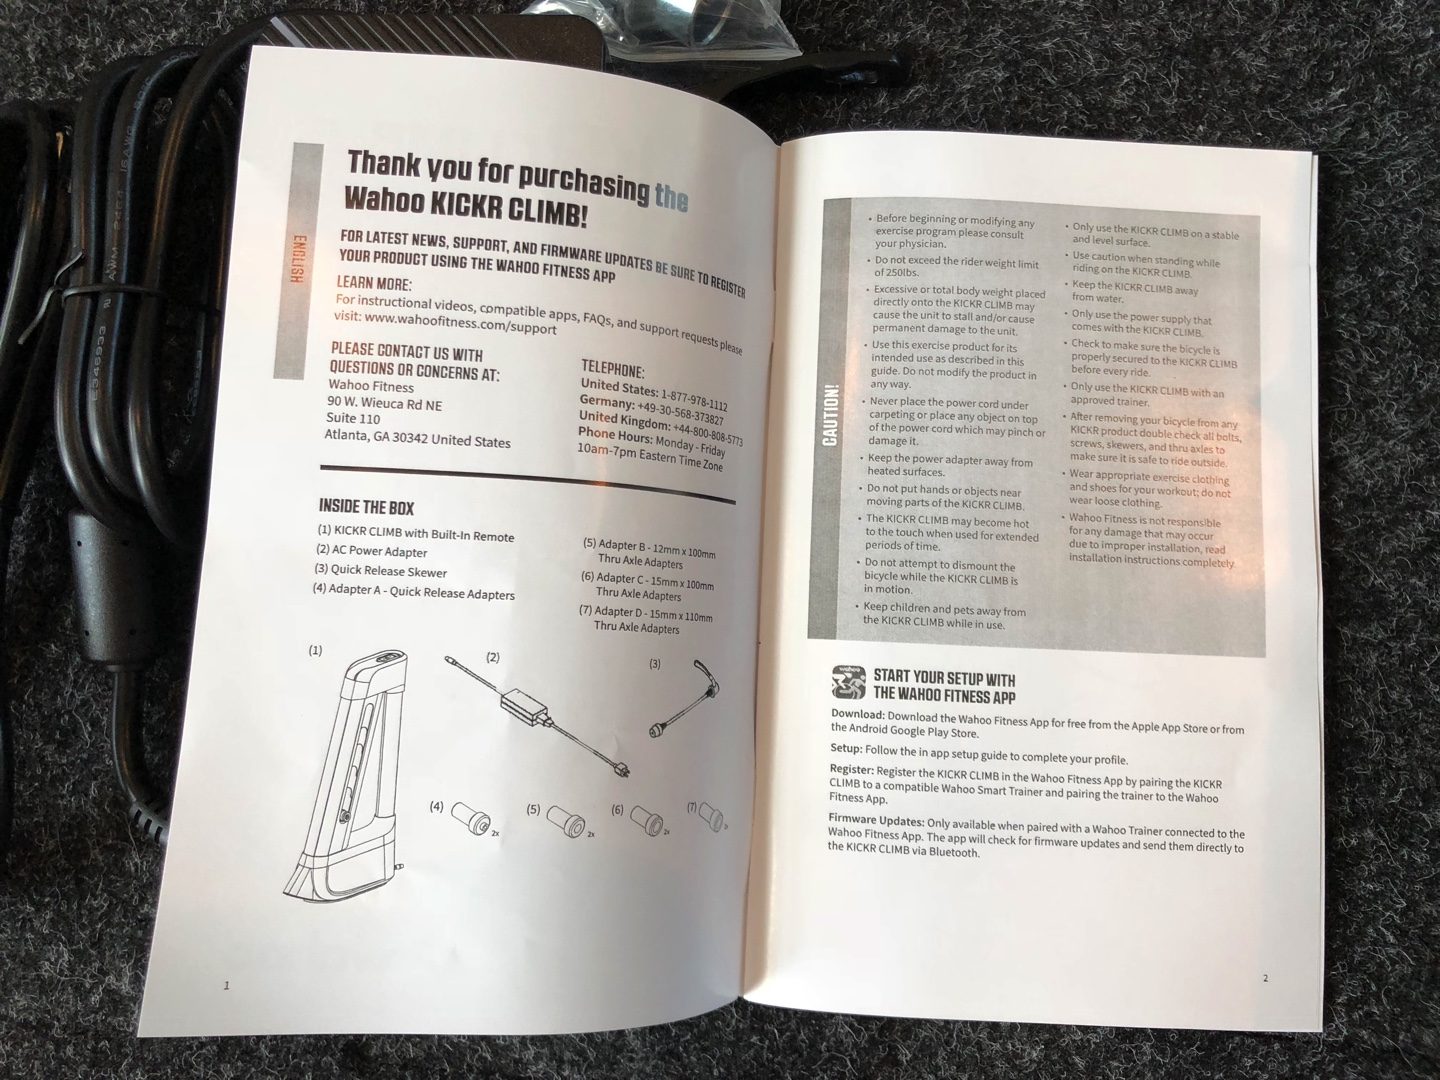
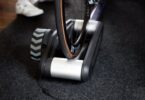
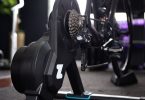
The box has the KICKR CLIMB, hub adapters, manual, a quick release skewer, and a power cable.
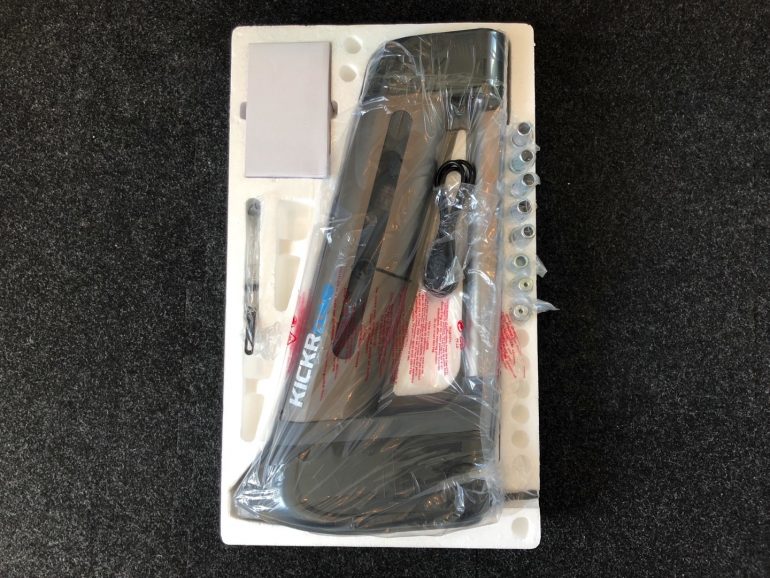
Here is everything in the box
It supports a quick release hub, and also 12×100, 15×100, and 15×110 thru axle hubs. All these axle end caps are included in the box. There is no storage place for all the end caps outside of the box itself. If you have a different type of bikes that you plan on using with the CLIMB – my guess is that’s not the case with the majority of CLIMB users – you will just have to find some kind of pouch or something to keep them close by. Otherwise, just keep them in the original box in case you ever need one. It’s not that big of a deal for me but I thought I mention this.
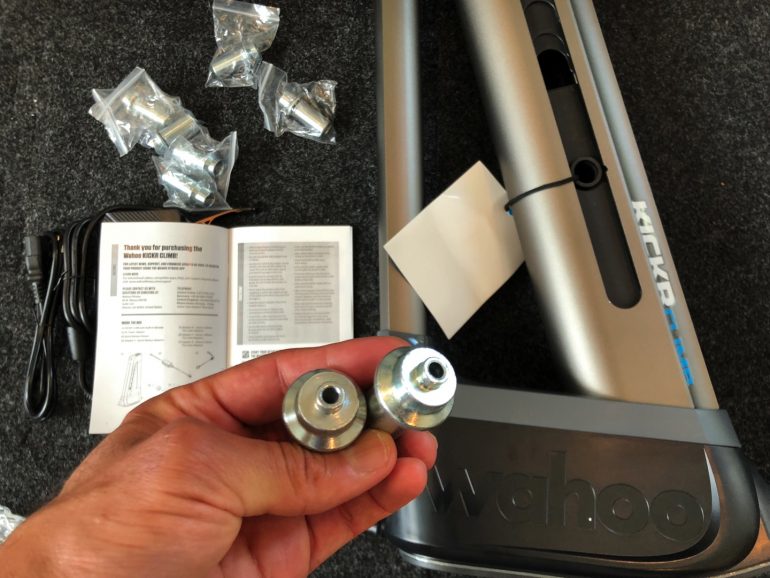
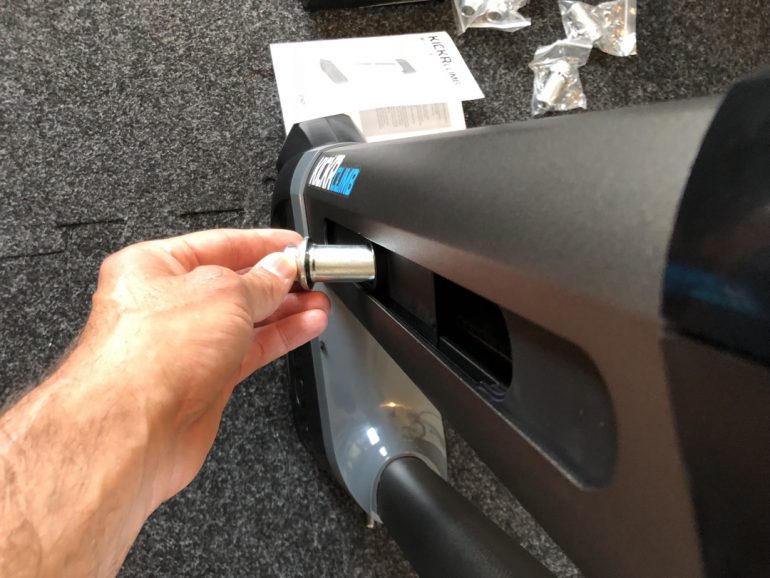
Find the appropriate front axle end caps for your bike.
WAHOO CLIMB SETUP
The CLIMB needs to be connected to a power source for it to work. Once it’s turned on, turn on your Wahoo KICKR and open the Wahoo Fitness App. Next, you need to pair the Climb to your KICKR or KICKR SNAP. The process is simple and you need to only do it once.
To pair the KICKR CLIMB with your KICKR or SNAP smart trainer:
- Ensure KICKR CLIMB and KICKR or KICKR SNAP are plugged in and powered on with the CLIMB’s blue LED illuminated.
- Press and hold the center lock mode button on the KICKR CLIMB remote for 3 seconds until the center white LED flashes steadily.
- Hold the CLIMB’s remote near the KICKR or KICKR SNAP until the center white LED flashes quickly, then turns solid. The center white LED remains illuminated and solid while connected and successfully paired.

LEVEL YOUR BIKE
The final step in the setup process is to ensure the CLIMB is set at the proper height so your bike is leveled. To do that:
- Open the Wahoo Fitness app.
- Connect to your trainer.
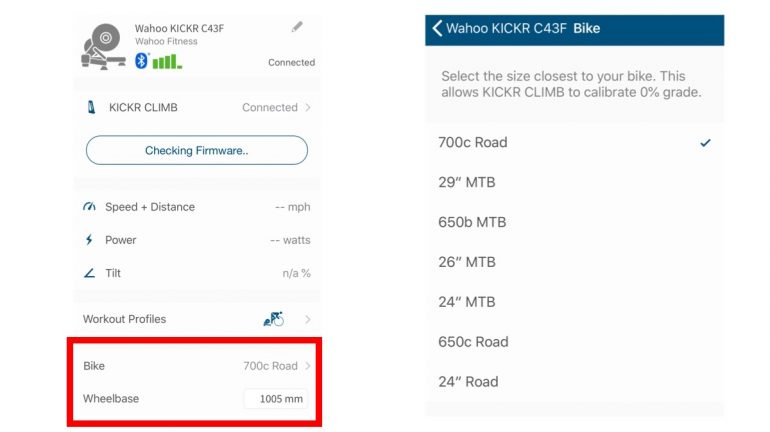
- You should now see the KICKR CLIMB connected as you see below.
- Go down to the Bike selection menu and select the size of your bike. This allows the KICKR CLIMB to calibrate to 0% grade.
THE KICKR CLIMB MODES
The KICKR CLIMB has two different modes, free and locked mode (AKA manual control). The free mode is what you want to use if you want the CLIMB to respond to gradient changes. However, if you just want to ride and not interested in changing gradient, you want to use the locked mode. To switch modes, tap the center lock button on the KICKR CLIMB remote to switch between modes – indicated by the remote’s blue LED moving from the locked side to the unlocked side or vice versa.
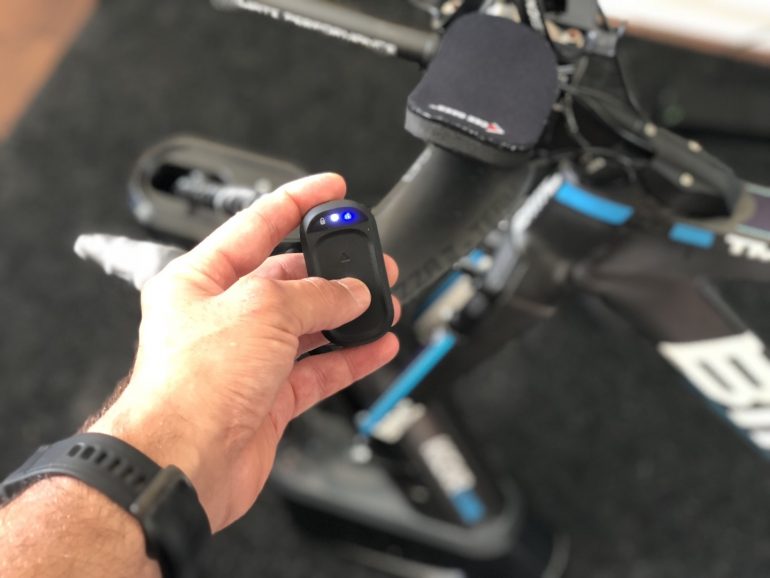
The KICKR CLIMB always starts in the locked mode to prevent it from moving unexpectedly. Tap the center lock button on the KICKR CLIMB to enable unlocked mode (indicated by the remote’s blue LED moving from the locked side to the unlocked side) for control through any app that sends slope data to your smart trainer.
THE CLIMB IN ACTION
 The Climb changes gradient by communicating directly with the KICKR not the cycling app. This eliminates the need for software companies to really do much to support the KICKR CLIMB. However, that doesn’t mean cycling apps were completely off the hook. Zwift, for example, had to work with Wahoo Fitness directly to send gradient data more frequently to the KICKR for the KICKR CLIMB to respond to every gradient change as you see on the screen.
As for riding, I went on few of the major climbs on Zwift. The KICKR CLIMB responded promptly to changes in gradient. I tried to demonstrate that in the video above so make sure you watch it. Overall, changes were smooth and on point without any delays. You will be immersed into the virtual world of Zwift which is exactly what Wahoo was trying to achieve with the CLIMB.
In earlier models, there was a 1-second to 2-second delay. However, Wahoo released two firmware updates since I got mine so make sure you have the latest firmware installed.
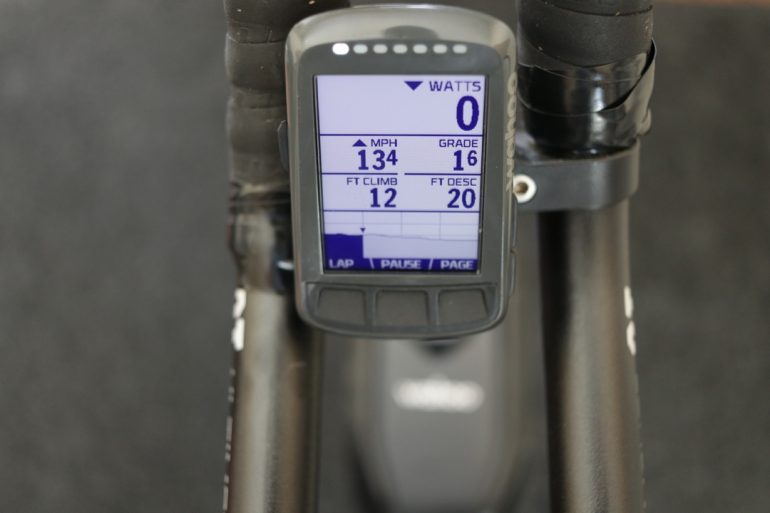
The CLIMB simulates ascents of up to 20% and descents of -10%.
Now, remember you are still indoor and even though I think Wahoo has done a great job trying to simulate the terrains you see on the screen, it’s still only moving your front fork up and down and still doesn’t come as close or as smooth as you do when riding in the real world.
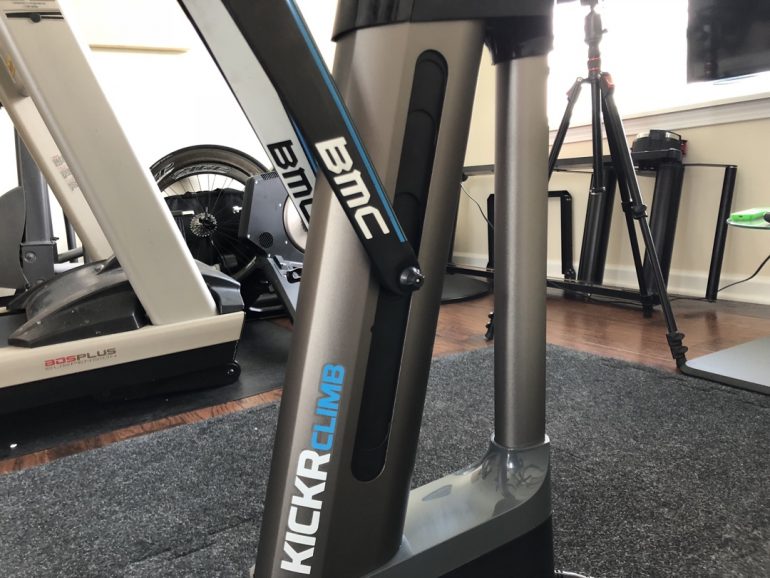
The base of the CLIMB has a bit of curve to it to allow for some movement. There is a little bit of play and the CLIMB lets the bar wiggle left and right and not as rigid as if you have the front wheel on a front wheel block or a riser. If you like a little bit of movement, you will enjoy this and I didn’t feel it was off-putting in any way.
ZWIFT CUSTOM WORKOUTS
If you select custom workout mode in Zwift using ERG mode, the Climb won’t respond to gradient changes which is what I expected. Usually when in a custom workout mode, the goal is to hit the intervals goal and Zwift doesn’t send gradient data to the KICKR.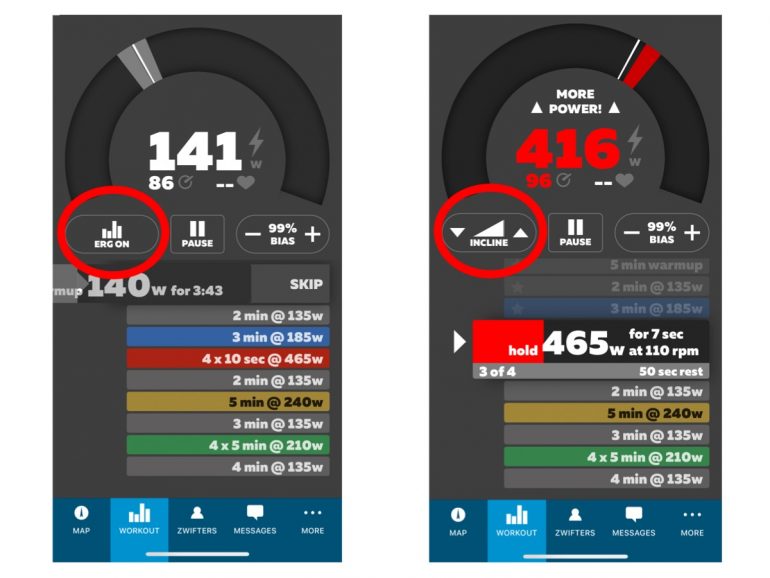
However, if you wish to tilt the CLIMB, using the Zwift Companion App, you can disable ERG mode and it will switch to Slope mode. As you increase the slope, the CLIMB will respond and go up. If you turn ERG mode back on, the CLIMB will remain in that position until you change it again.
Alternatively, you always turn the CLIMB lock mode on and adjust the gradient using the remote control.
TRAINERROAD
TrainerRoad controls the CLIMB a bit differently. Essentially, whatever the FTP on the current interval shows, TrainerRoad set the corresponding % grade on the CLIMB.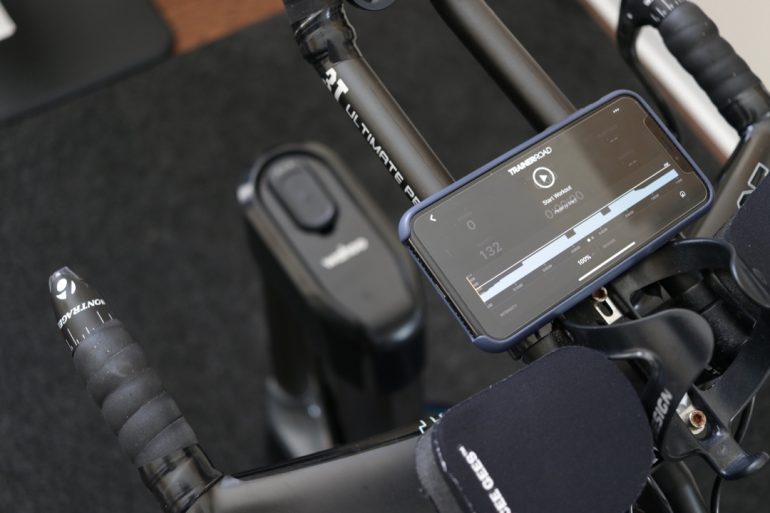
Anything below 75% of FTP, the KICKR CLIMB is set to 0%. After that, TrainerRoad will add 1% gradient change to every 5% increase in FTP. The table below demonstrates how it works:
| % FTP | %Grade |
| 75 | 0 |
| 80 | 1 |
| 85 | 2 |
| 90 | 3 |
| : | : |
| 175 | 20 |
DEVICE AND APP COMPATIBILITY
The KICKR CLIMB is compatible with WAHOO ELEMNT, ELEMNT BOLT, and Garmin Edge. If you are riding a course profile with your ELEMNT, the CLIMB will change gradient based on the course. You can also manually adjust the gradient by using the SLOPE mode in your ELEMNT.

Any cycling app that can simulate terrains and pair with Wahoo KICKR should work fine with the CLIMB. You might experience some delay in the CLIMB response to changes but that’s usually the fault of the app, not the KICKR CLIMB itself.
COOL PRODUCT BUT DO YOU NEED IT?
The KICKR CLIMB is definitely an interesting product. It’s a cool piece of device that was intended to blend assents and descents with resistance changes for a truly immersive indoor training experience.
I have been very skeptical of the CLIMB when Wahoo first announced it. However, after a month of use, I have to admit, it was a lot of fun. Putting it in front of a big screen TV, climbing the Alpe du Zwift or racing, it made riding a bit more fun and interesting.
The CLIMB sells for $600. That’s a premium price that might be hard to justify for many. Add on top of that the price of the KICKR trainer and that will put you between $1,200 to $1,800.
If you mainly train indoor and mostly do free rides and course simulation, the KICKR CLIMB will add to your indoor riding experience. However, if you mainly do structured workouts and not much free riding or course simulation, you might not benefit from the CLIMB as much.
If the KICKR CLIMB will make you ride your bike more often, then go for it.
AVAILABILITY AND WHERE TO BUY
The KICKR CLIMB is available to order today for $600 at CleverTraining and you will get $60 worth of reward dollar back which you can use to purchase different products.
You can also buy it directly from Wahoo Fitness or any licensed retailer such as REI.
As usual, using the links above to purchase anything, would help me keep up with this site and reviews without costing you anything extra. And I truly appreciate the support!
Thanks for reading!

I am seriously considering purchasing and read that there have been some past problems with the belt breaking ? Is this anything you’ve hear about? If so has Wahoo done anything to remedy the issue. Thank you so much, all of your insight is appreciated.
The Wahoo KICKR Climb has been available for quite some time now, and it’s not uncommon to come across occasional reports of belt breakage. However, it’s important to note that every product can encounter issues, and the Climb is no exception. Hope that helps.